Email : info@24vc.com
YOUR IP: 3.142.197.212
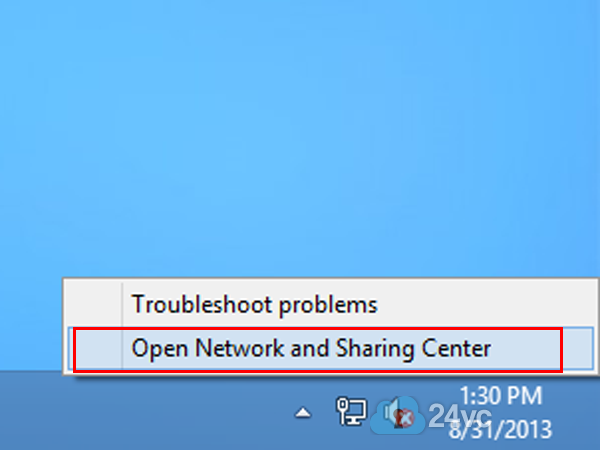
Step 1:Right click on the network icon in the system tray and click Open Network and Sharing Center. |
 |
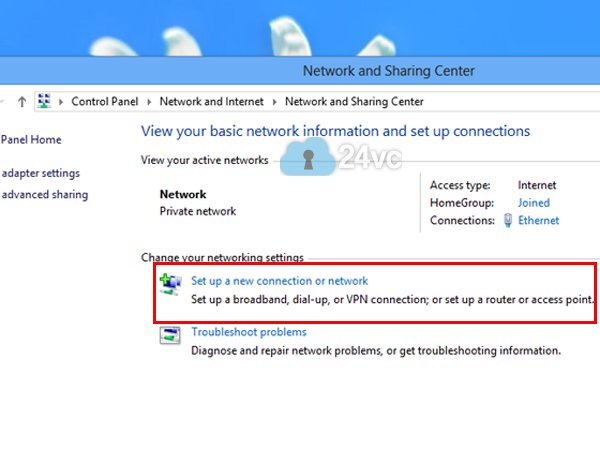
Step 2:Click Set up a new connection or network. |
 |
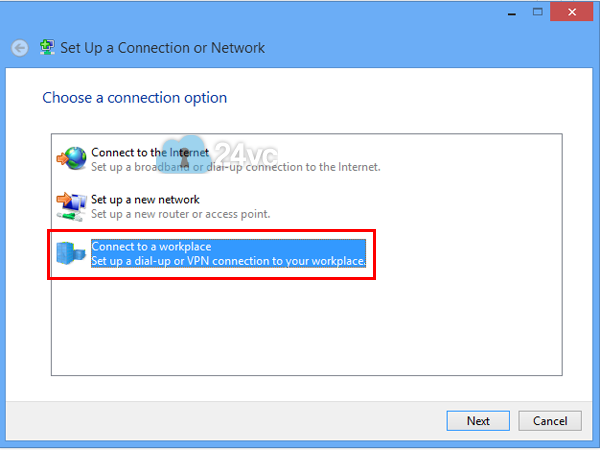
Step 3:Select Connect to a workplace and then click next. |
 |
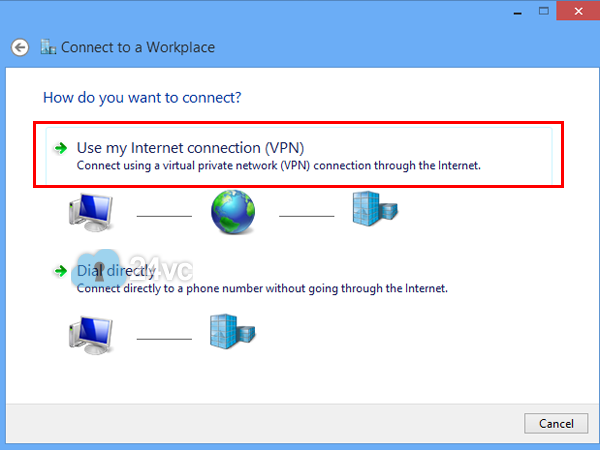
Step 4:Select Use my Internet connection (VPN). |
 |
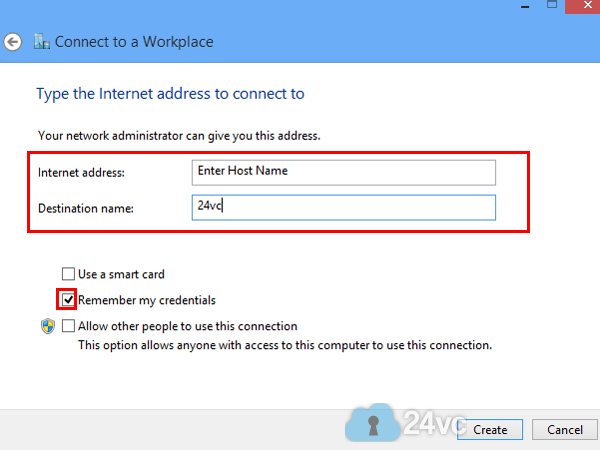
Step 5:Enter the Host Name we provided you in the activation email as the Internet address and for Destination name simply put 24vc. Click Create. |
 |
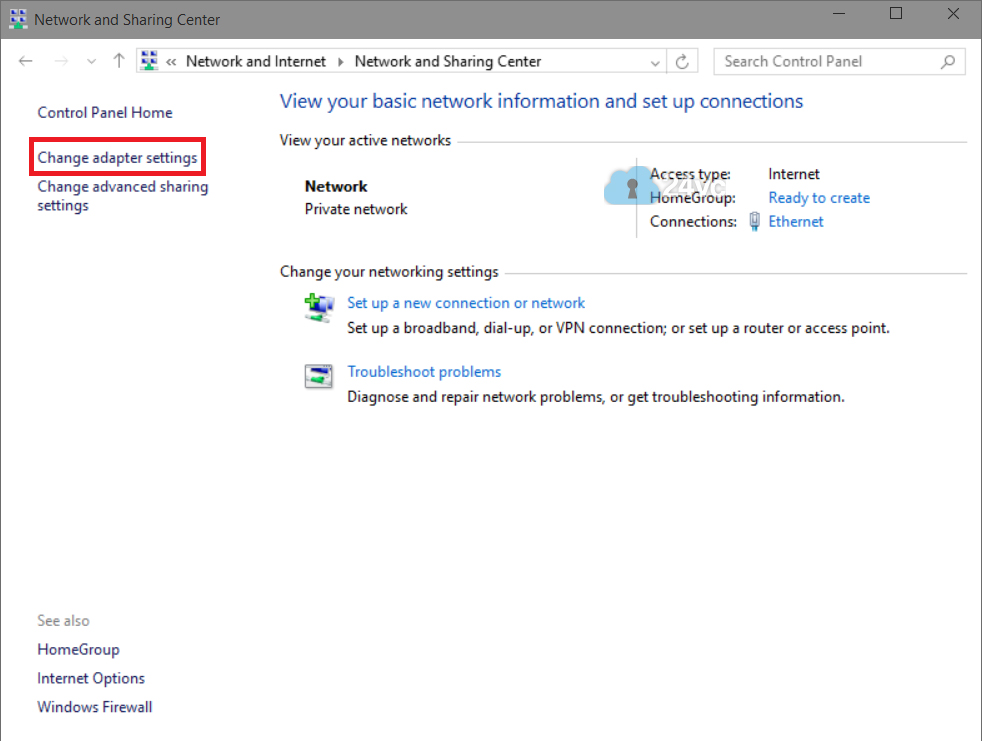
Step 6:Right click on the network icon in the system tray and click Open Network and Sharing Center. In Network and Sharing Center, click on Change Adapter Settings |
 |
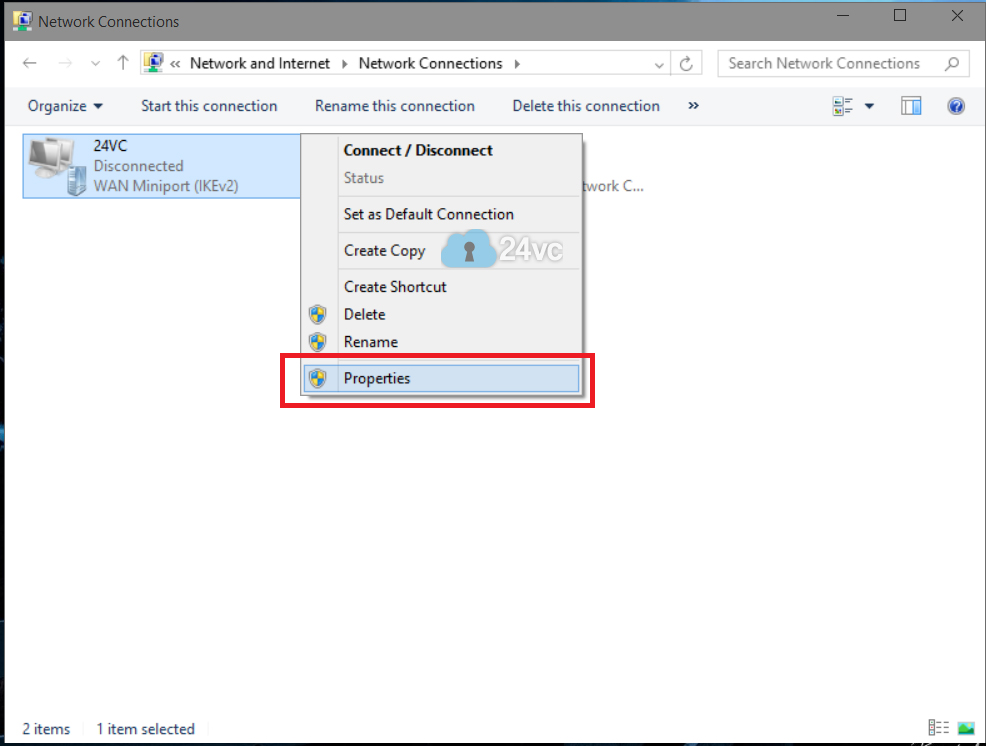
Step 7:Right Click on 24vc and click on Properties. |
 |
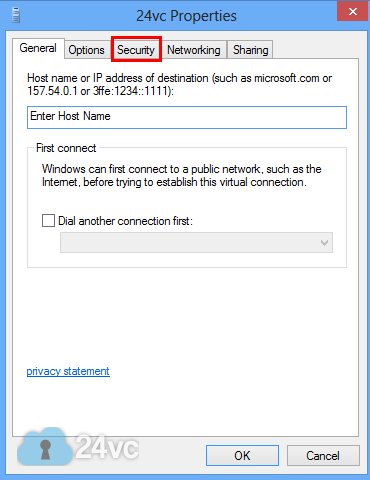
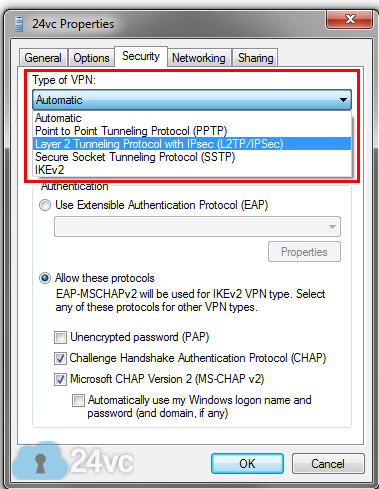
Step 8:Go to the Security tab. |
 |
Step 9:For Type of VPN select Layer 2 Tunneling Protocol (L2TP/IPSec). |
 |
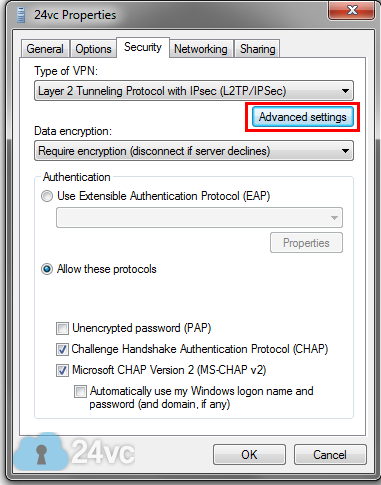
Step 10:Click Advanced Settings. |
|
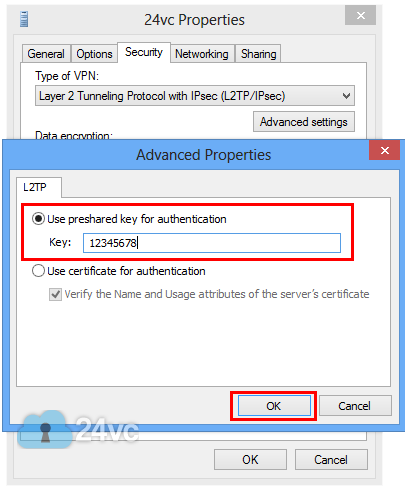
Step 11:Check Use Pre-shared key for authentication and enter 12345678 as the Key. Click OK. |
 |
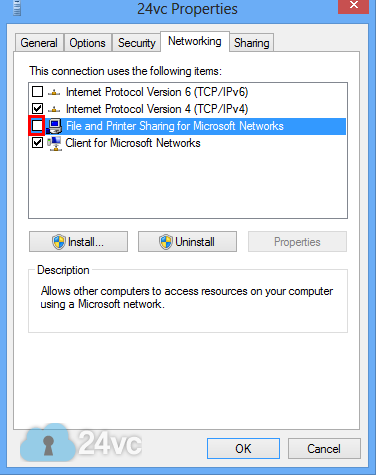
Step 12:Go to Networking tab. |
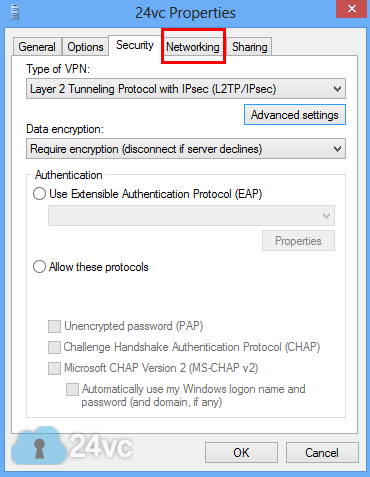 |
Step 13:Uncheck Internet Protocol Version 6 and File and Printer Sharing. Then click OK. |
 |
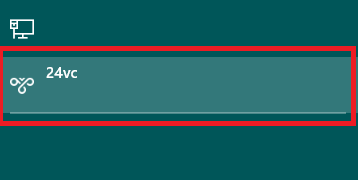
Step 14:Click on the network icon in the system tray and click on the newly created 24vc VPN connection. |
 |
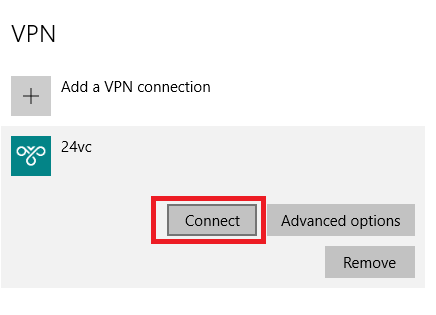
Step 15:Click 24vc and then click on connect. |
 |
| Need Faster Speeds? Keep in mind that this tutorial teaches you how to connect to the VPN using an L2TP connection, which is a very secure but older protocol. So the internet speed won’t be as fast, as if you connected via OpenVPN or Softether. So if you need faster browsing speeds we recommend using OpenVPN or Softether instead. For OpenVPN you would need an .ovpn configuration file to use with our software, simply open a support ticket with our technical support team and they will provide you with the necessary files for your specific VPN. Or you can use Softether instead which does not require any additional files, and a full step by step tutorial can be found here. |
|
| How to Manage Multiple Stealth Accounts Managing multiple stealth accounts under one computer with our fresh ips is extremely easy! You can simply make a new user account on your computer, for all the different stealth accounts that you need to keep separated. Then install our software on each of the user accounts and configure a unique fresh ip for each user account. Note: As you switch from user account to user account make sure to disconnect the VPN before switching, this ensures that the ip address doesn’t transfer over to another user account. Or if you want to be more efficient, we recommend using VMware instead. VMware makes managing multiple accounts very easy, think of it like firefox except each tab is a new computer. So for example you can have five tabs open meaning you have 5 different computers running at the same time and if you combine that with a VPN you can literally have 5 different ip addresses running at the same time. So it makes multi-tasking between accounts extremely convenient and easy. If you’re interested in learning more about VMware, please contact our technical support team for more information. |
|
| Optional Step: In this tutorial we will teach you how to easily block the internet traffic of a specific program, in the event that your VPN connection drops for any reason at all. We will do so by using the built in Windows 7 firewall service (which is also available on Windows 8 & 10), thus eliminating the need for any additional third party software. Following this tutorial will provide you with an extra layer of protection for your stealth accounts in case your VPN connection ever drops. For example you can have it setup so that if your VPN connection ever drops, Firefox would no longer be able to load any websites until the VPN was successfully reconnected. Thus preventing any chance of your real ip address leaking, and in doing so protecting your amazon, ebay, or paypal stealth accounts from being linked and suspended. The Full Step by Step Tutorial is now available below: How to Block non-VPN Traffic with Windows Firewall |
|