Email : info@24vc.com
YOUR IP: 216.73.216.26
| Can download the SoftEther VPN Client Manager using the link below: https://www.softether-download.com/files/softether/v4.34-9745-rtm-2020.04.05-tree/Windows/SoftEther_VPN_Client/softether-vpnclient-v4.34-9745-rtm-2020.04.05-windows-x86_x64-intel.exe |
|
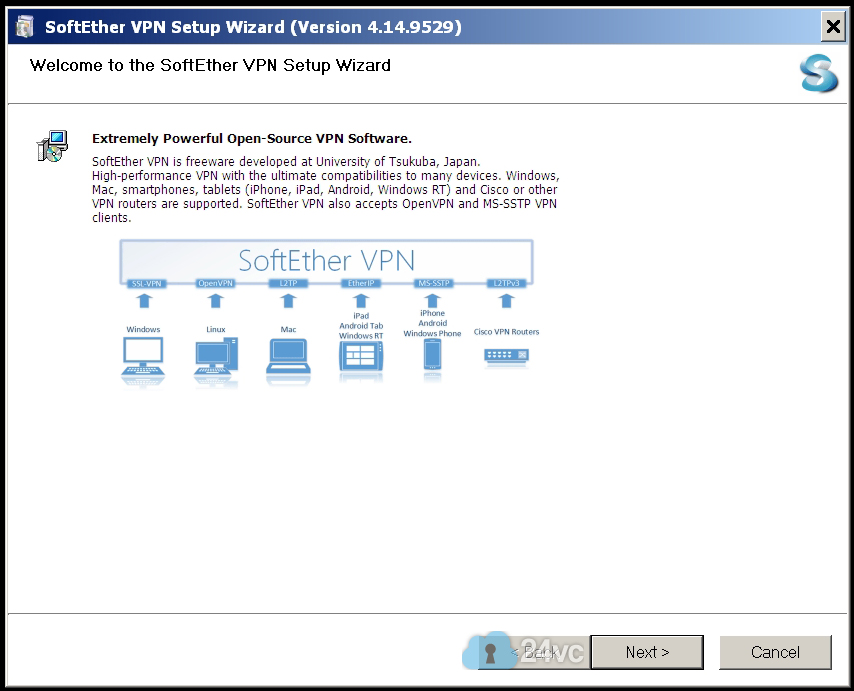
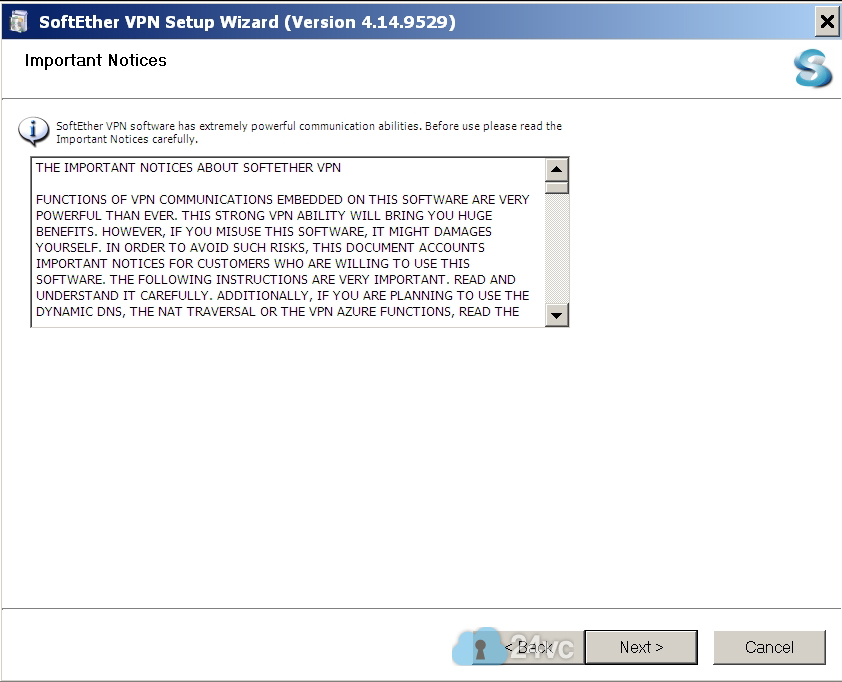
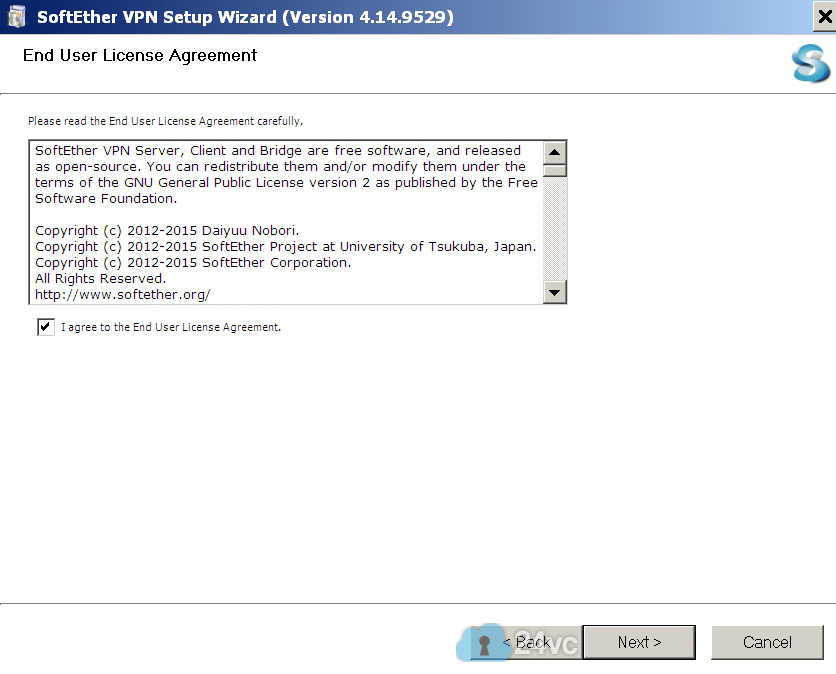
Step 1:Start installation and click Next. |
 |
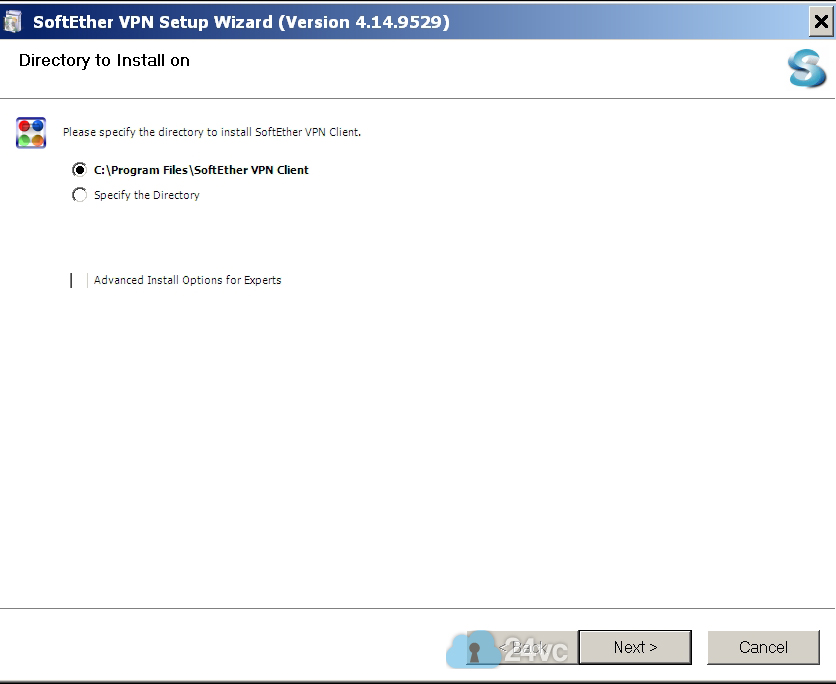
Step 2:Select SoftEther VPN Client and click Next. |
 |
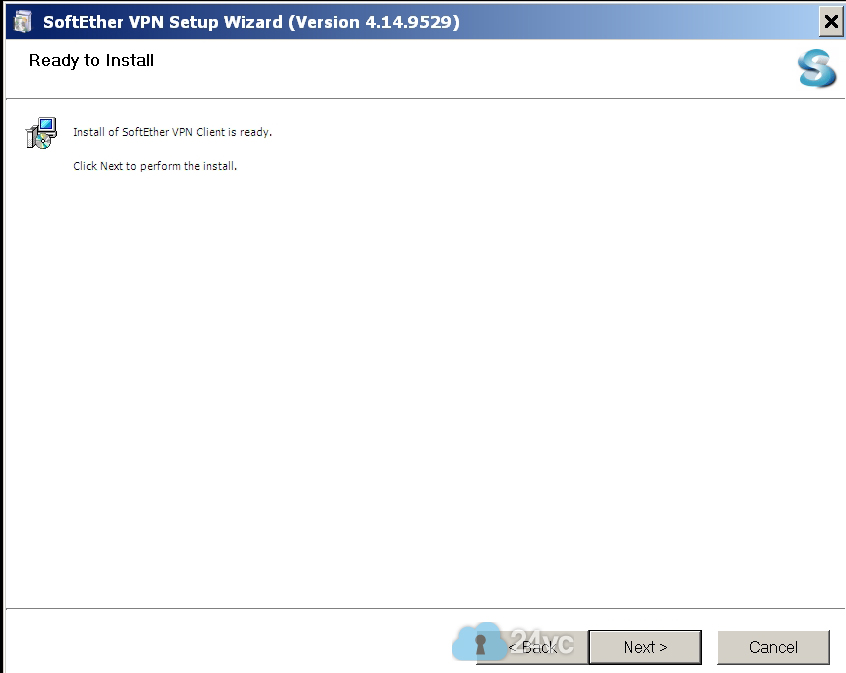
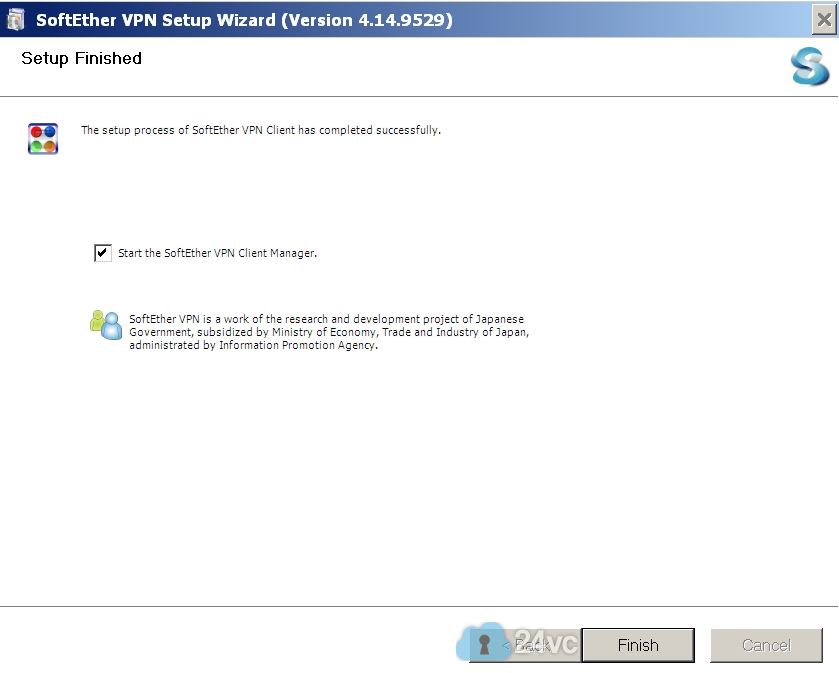
Step 3:Continue clicking next until installation is finished. |
 |
 |
|
 |
|
 |
|
 |
|
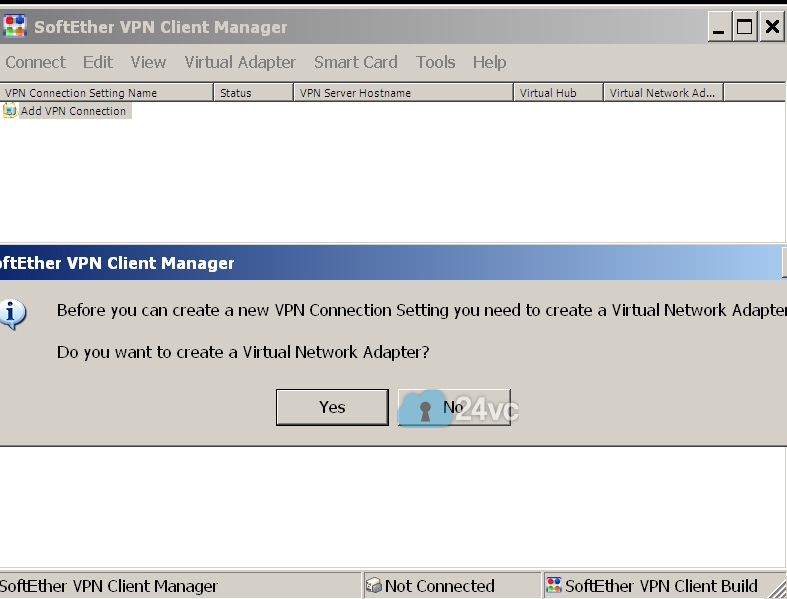
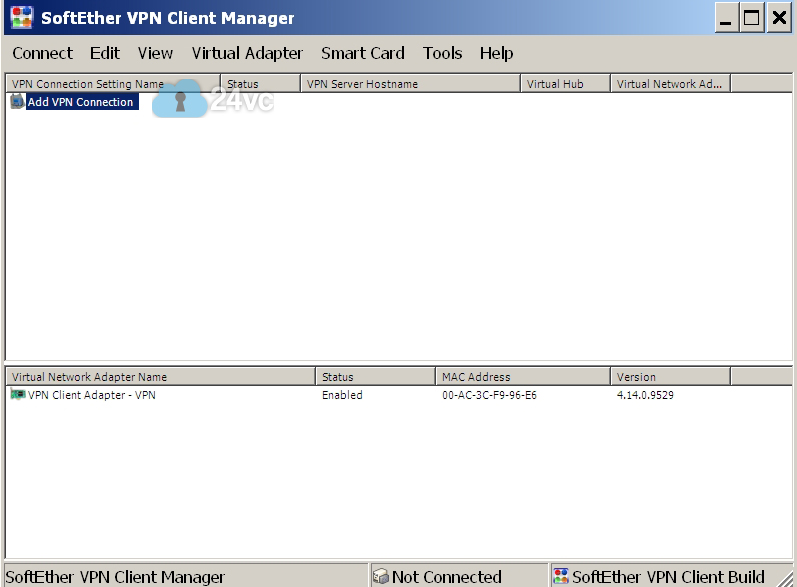
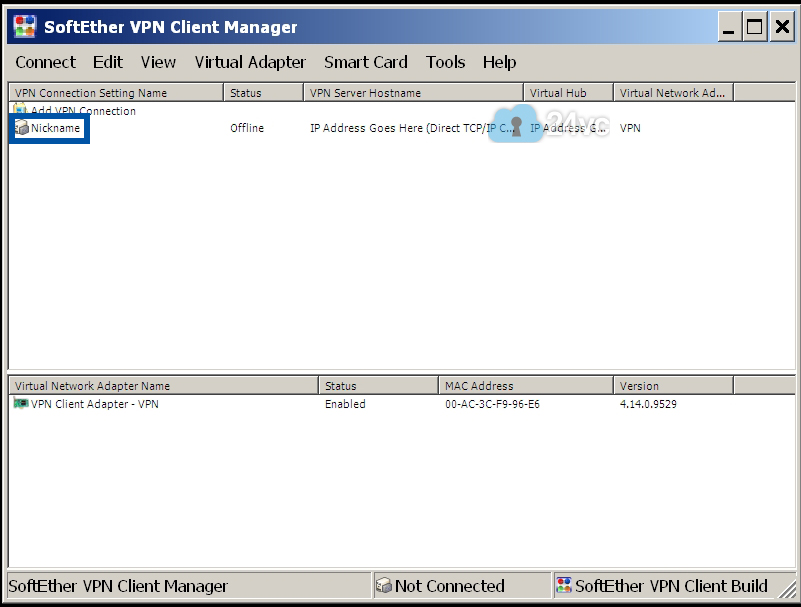
Step 4:Start the Client Manager and click Add VPN Connection and click Yes. |
 |
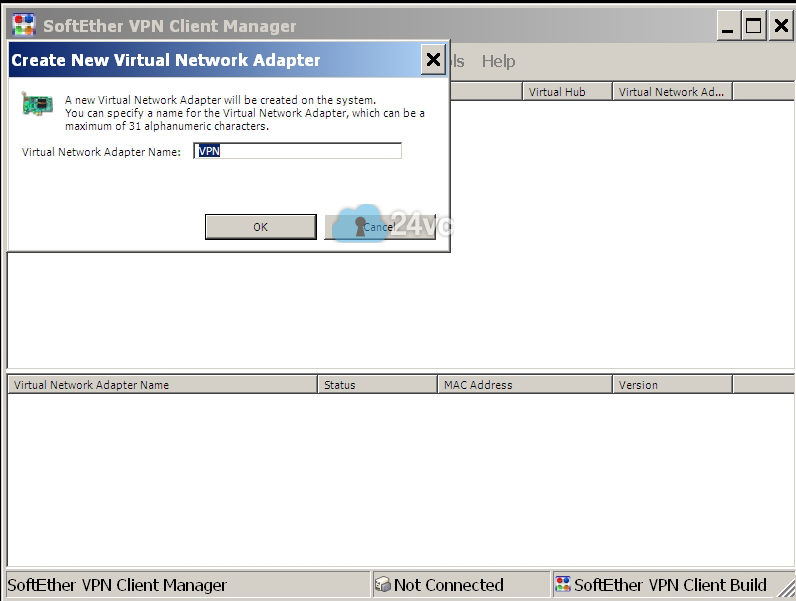
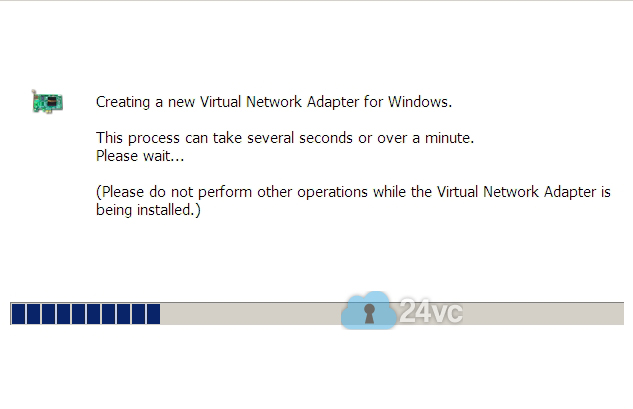
Step 5:Call the Adapter VPN and click Ok. |
 |
 |
|
Step 6:Once finished installing, click Add VPN Connection again. |
 |
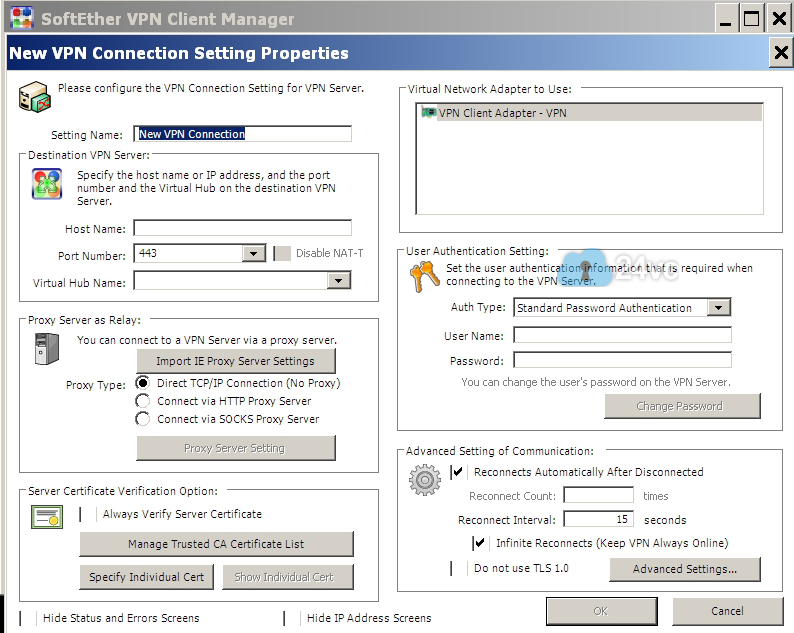
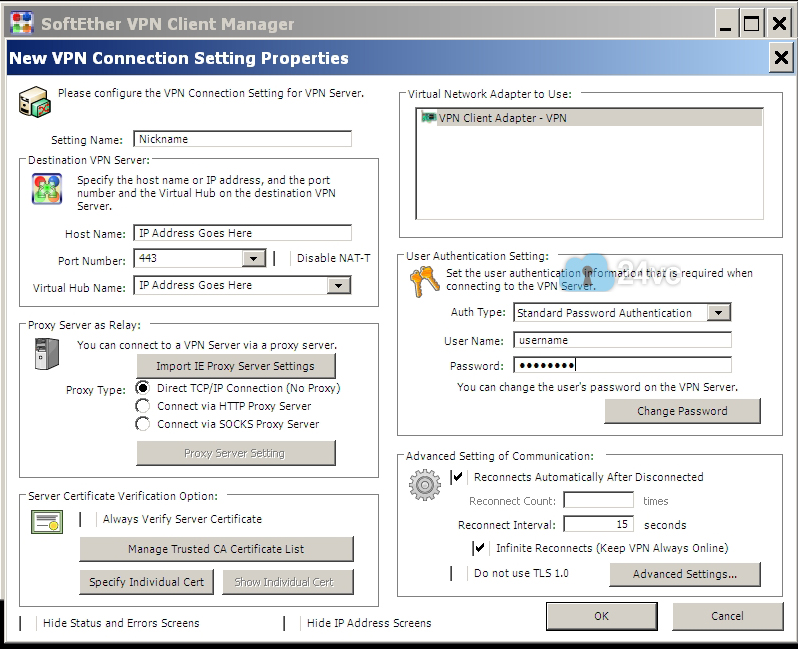
Step 7:Setting Name: put any nickname you prefer Host Name & Virtual Hub Name: enter the ip address given to you in activation email Username: for softether you simply omit the @ip_address part of your username, so for example if your username is [email protected] then you would put only 65321086 Password: provided in activation email These are the only settings you need to change, everything else can remain the same. |
 |
 |
|
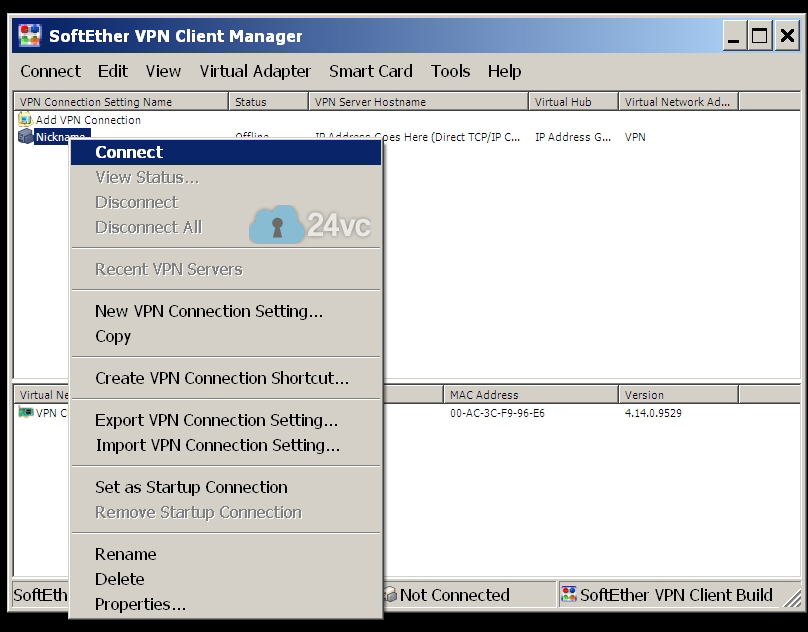
Step 8:Right click the nickname you provided, and then click Connect.Once connected, go here to double check and make sure your ip address changed correctly. If you’re still having trouble getting connected, please check out our simple troubleshooting guide found here. And scroll down below to learn how to block non-VPN traffic using Windows Firewall. |
 |
 |
|
| How to Manage Multiple Stealth Accounts Managing multiple stealth accounts under one computer with our fresh ips is extremely easy! You can simply make a new user account on your computer, for all the different stealth accounts that you need to keep separated. Then install Softether on each of the user accounts and configure a unique fresh ip for each user account. Note: As you switch from user account to user account make sure to disconnect the VPN before switching, this ensures that the ip address doesn’t transfer over to another user account. Or if you want to be more efficient, we recommend using VMware instead. VMware makes managing multiple accounts very easy, think of it like firefox except each tab is a new computer. So for example you can have five tabs open meaning you have 5 different computers running at the same time and if you combine that with a VPN you can literally have 5 different ip addresses running at the same time. So it makes multi-tasking between accounts extremely convenient and easy. If you’re interested in learning more about VMware, please contact our technical support team for more information. |
|
| Optional Step: In this tutorial we will teach you how to easily block the internet traffic of a specific program, in the event that your VPN connection drops for any reason at all. We will do so by using the built in Windows 7 firewall service (which is also available on Windows 8 & 10), thus eliminating the need for any additional third party software. Following this tutorial will provide you with an extra layer of protection for your stealth accounts in case your VPN connection ever drops. For example you can have it setup so that if your VPN connection ever drops, Firefox would no longer be able to load any websites until the VPN was successfully reconnected. Thus preventing any chance of your real ip address leaking, and in doing so protecting your amazon, ebay, or paypal stealth accounts from being linked and suspended. The Full Step by Step Tutorial is now available below: How to Block non-VPN Traffic with Windows Firewall |
|