Email : info@24vc.com
YOUR IP: 18.221.141.44
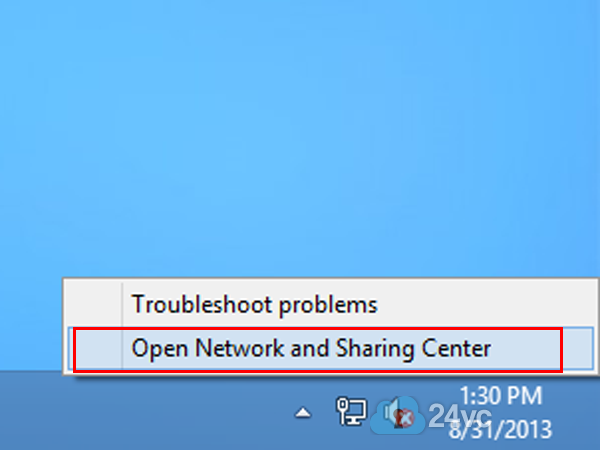
Step 1:Right click on the network icon in the system tray and click Open Network and Sharing Center. |
 |
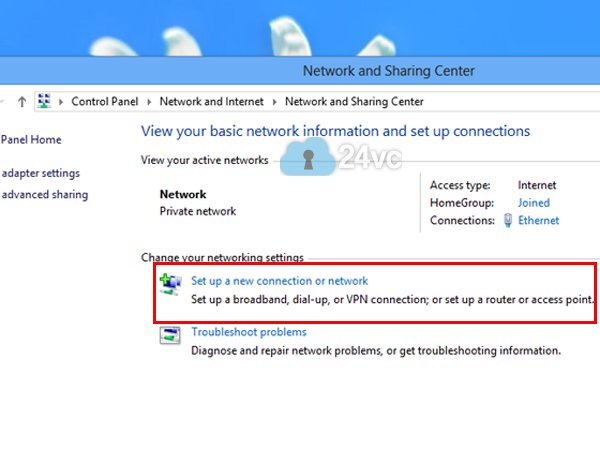
Step 2:Click Set up a new connection or network. |
 |
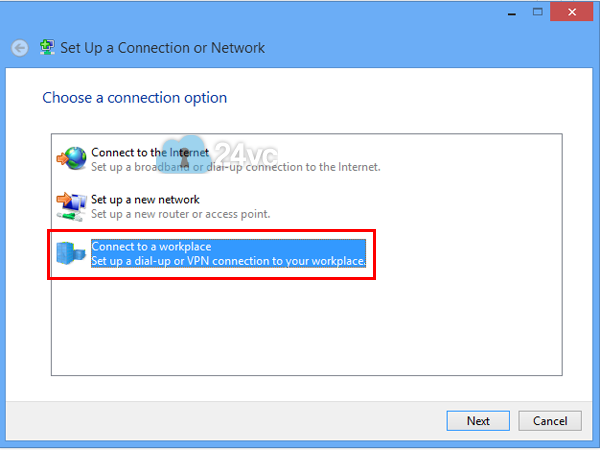
Step 3:Select Connect to a workplace and then click next. |
 |
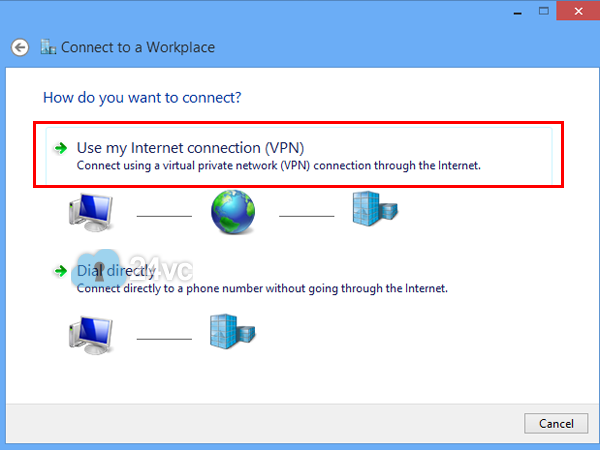
Step 4:Select Use my Internet connection (VPN). |
 |
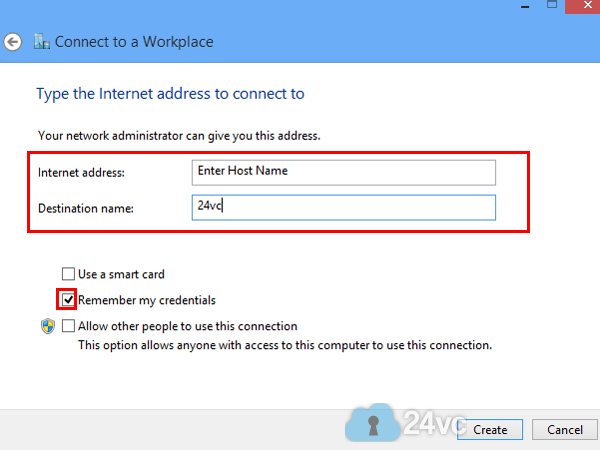
Step 5:Enter the Host Name we provided you in the activation email as the Internet address and for Destination name simply put 24vc. |
 |
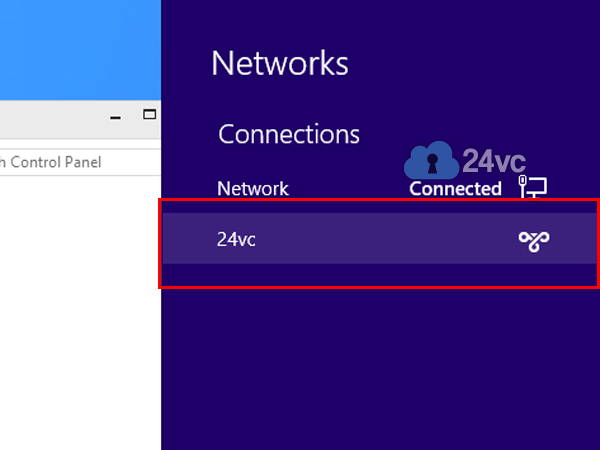
Step 6:Click on the network icon in the system tray and click on the newly created 24vc VPN connection. |
 |
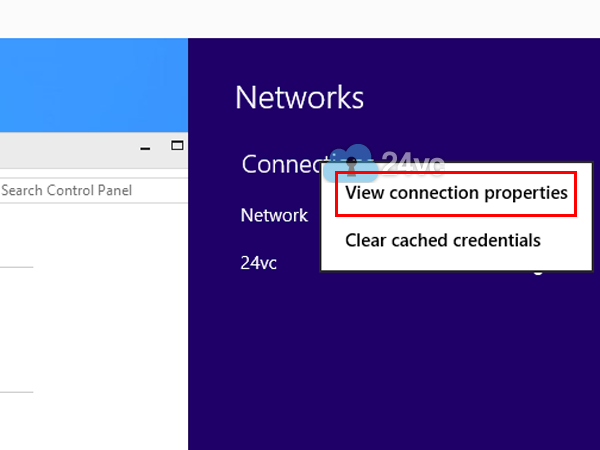
Step 7:Right Click View Connection Properties. |
 |
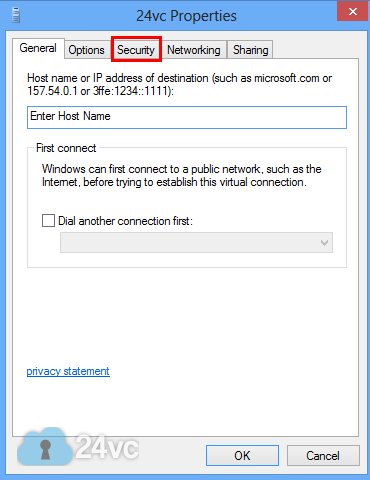
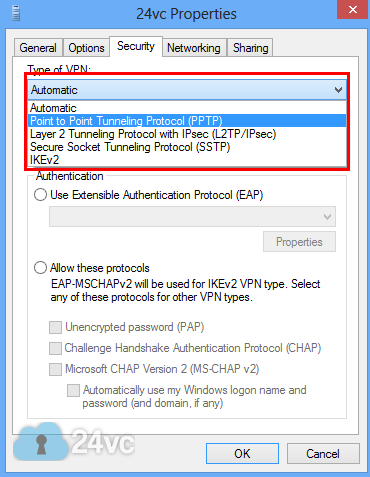
Step 8:Go to the Security tab. |
 |
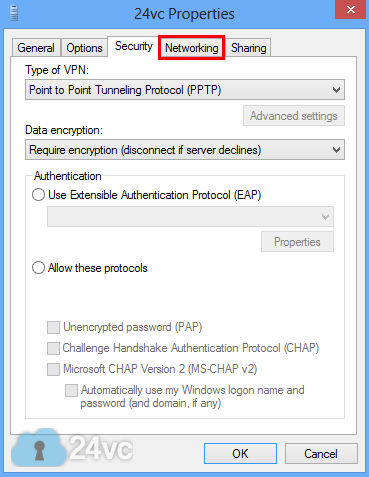
Step 9:For Type of VPN select Point to Point Tunneling Protocol (PPTP). |
 |
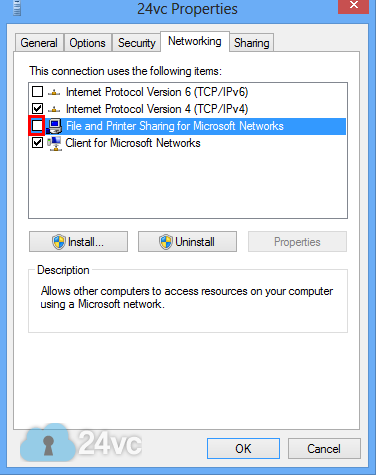
Step 10:Go to Networking tab. |
 |
Step 11:Uncheck Internet Protocol Version 6 and File and Printer Sharing. Then click OK. |
 |
Step 12:Click on the network icon in the system tray and click on the newly created 24vc VPN connection. |
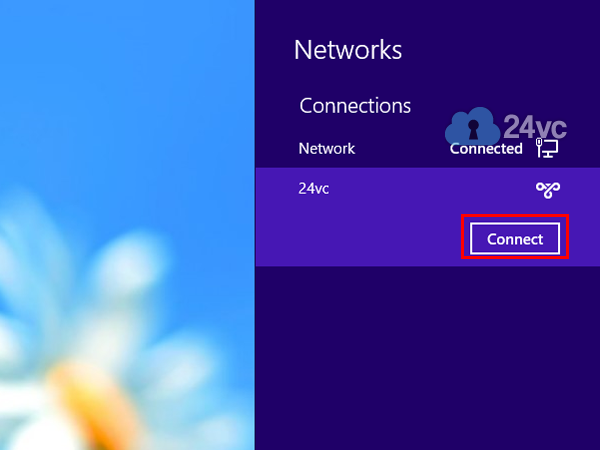 |
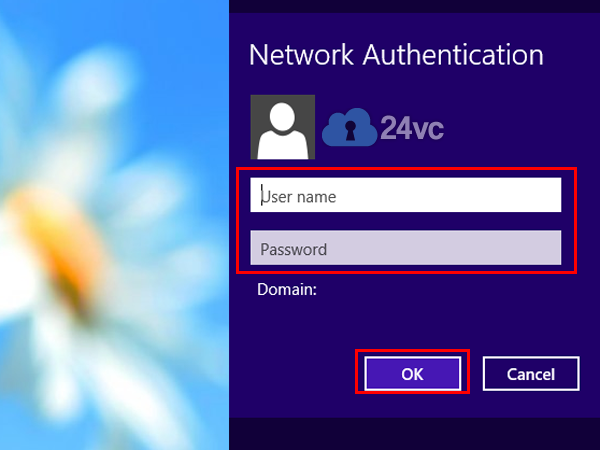
Step 13:Simply enter the username and password provided in the activation email. Click Connect. |
 |